
How to Make Wooden Christmas Ornaments!

These sweet wooden ornaments make the perfect "personal touch" for any Christmas gift this season! You can use any kind of design you'd like. If you need some ideas, check out our Christmas designs here!
Get this truck design here.
This step by step is for ink jet transfers using Silhouette Studio.
Materials Needed:
- wooden ornaments (like these or these)
- paint & paint brush (optional)
- ink jet transfer paper for darks (like this or Blue Grid Transfer Paper from ebay)
- ribbon
- string for hanging
- ink jet printer
- heat press
- Silhouette Studio or any other photo editing software
Step by Step Instructions:
1. If painting your ornament, do that first so it can start drying.
2. Upload your design to Silhouette Studio (or any other photo editing software.)

3. Measure your ornament's diameter and draw a circle in Silhouette studio that is a little smaller than your ornament. (Press down the shift key while drawing the circle so that's it's perfect and not an oval). This circle will either be where your cutting machine cuts or your guide for cutting by hand.

4. If using your machine to cut, skip to step 5.
If cutting by hand:
1. change the color of the line to whatever color you'd like then....

2. Increase the thickness of the circle to where you'd like it (I used 3.0). If you miss this step, the circle will not print.

5. Add any text you'd like inside of the circle.
6. You need to both fill the text and add color to the line. You can do that by clicking on both of these buttons and selecting the colors you'd like. If you skip this step, the text will not print.

7. You do not have to mirror the text/image since you will be printing on transfer paper for darks.
8. Send the design to your printer.
9. Cut with your machine or by hand. (Please not, when I first made this tutorial I cut on the inside of the circle. DON'T do that! Cut on the outside of the circle so that it is part of the image.
10. Once your paint is dry, heat your heat press to 380*.
11. Peel off the backing of the transfer paper for darks.

12. Press just the ornament for a few seconds to get out any moisture.
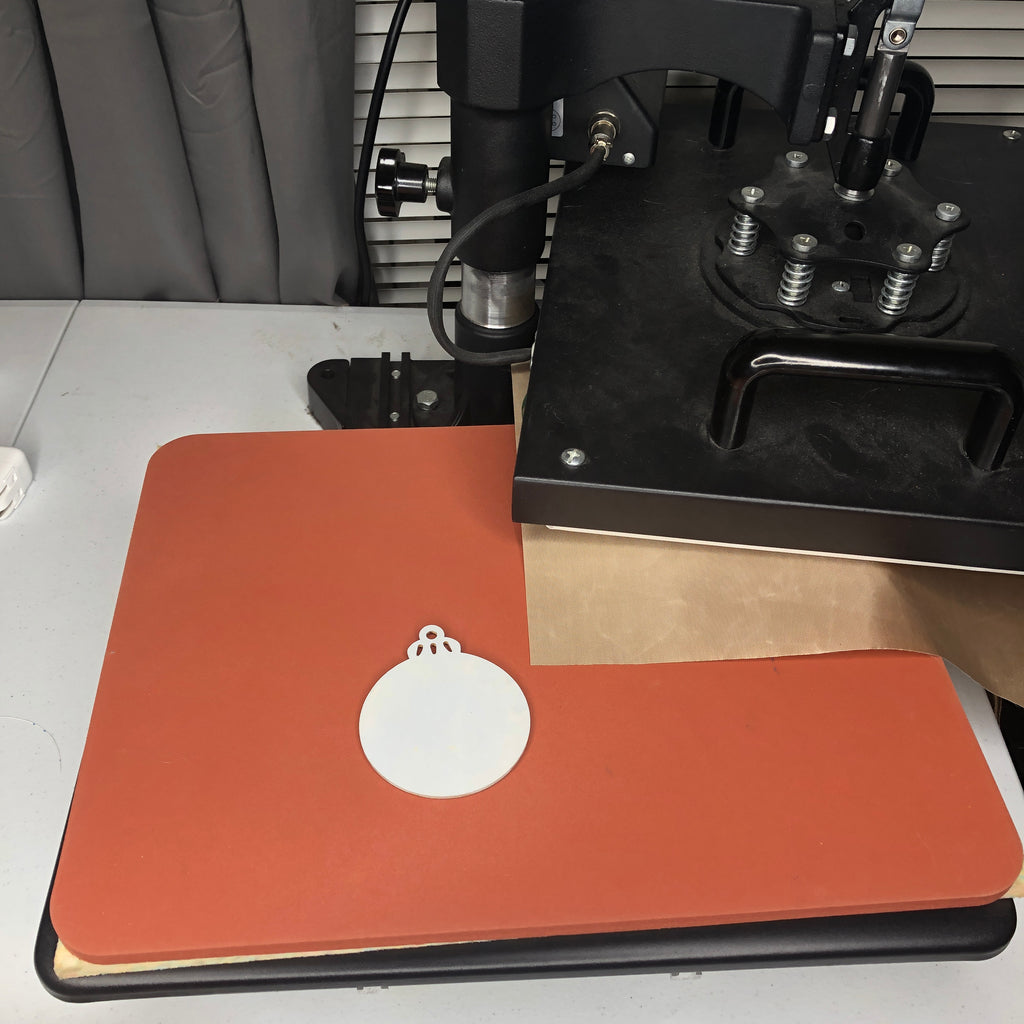
13. Place your printed design face side up on your ornament.
14. Cover with parchment paper, then a Teflon sheet and press for 30 seconds.

15. Add your bow and your string for hanging then give to someone you love!
